

 |
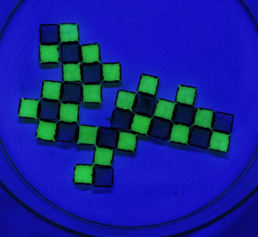
Exploring Self-Assembly Processes Using Magnetic PDMS Tiles |
 |
We have designed a laboratory experiment to help students explore self-assembly processes. In this lab, students prepare small composite tiles of various shapes that are made out of the transparent elastomer polydimethylsiloxane (PDMS) and the magnetic powder strontium ferrite. For more information about the polymer PDMS, see our PDMS website. The following pictures and descriptions explain the basic procedure for the self-assembly laboratory. For other experiments using PDMS, click here.
For other self-assembly references, click here.
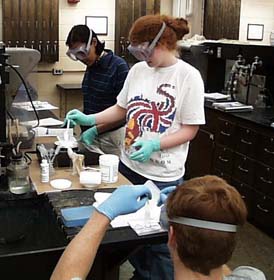 |
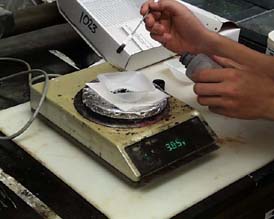
In the two images shown here, students are mixing the PDMS. PDMS is prepared from a base and a curing agent (both siloxanes), usually combined in the ratio of 10:1 by weight. | 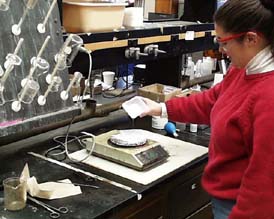 |
 |
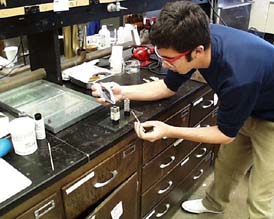
Students add the black magnetic powder, strontium ferrite (SrFe12O19) to the uncured PDMS polymer, as shown on the left. A glass rod or a wooden stick is used for mixing the components, as shown on the right. |  |
 |
The viscous PDMS/magnetic powder mixture is poured into molds of various shapes (square and triangular prism molds are shown here). Strong permanent magnets have been fixed to the outer edges of each mold, and the bottom of the mold is plugged with a rubber stopper. The magnets attract the strontium ferrite powder to the edges of the PDMS piece during the curing process. | 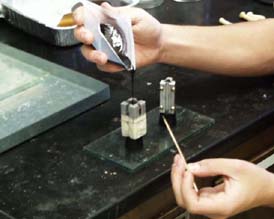 |
 |
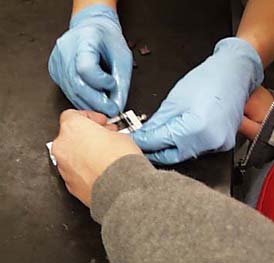
After the molds have been filled, they are placed into an oven at 140 C for about 15 minutes to cure. |  |
 |
After curing, the PDMS pieces are removed from the molds and sliced into
~2 mm thick tiles, as shown on the left. A selection of triangular tiles is shown on the right. These tiles have been coded with different colors to designate the magnetic orientation of their edges. The edges of the green tiles are all of the opposite magnetic orientation as the edges of the red tiles. |
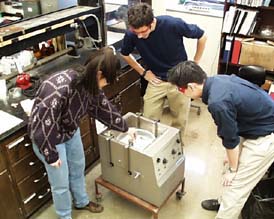 |
After the tiles have been sliced, they are placed in a glass container that is partially filled with water and placed in an orbital shaker. As shown here, the tiles float on the surface of the water and assemble under the mild rotary agitation of the shaker. After 30 - 45 minutes, extended ordered arrays of the tiles can be observed. | 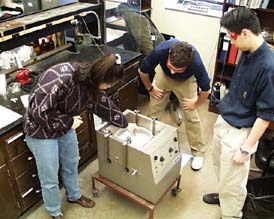 |
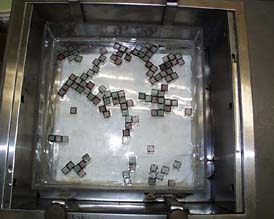 |
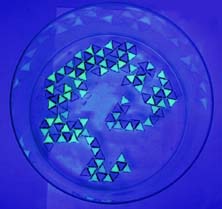
In the left image, square tiles are beginning to assemble into extended arrays. In the right image, triangular tiles are also beginning to assemble. Students continued to add more tiles over the course of the week during which the experiment was conducted | 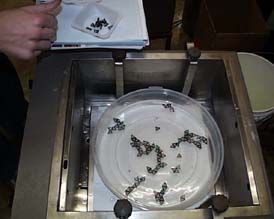 |
For more information about this experiment please contact Karen Nordell at
nordell@chem.wisc.edu, or
Art Ellis at ellis@chem.wisc.edu, or at the address below.
Department of Chemistry
1101 University Ave.
Madison, WI 53706
(608)262-6711
Making a PDMS Stamp
Making a Flexible Diffraction Grating
Making PDMS Balls: A Crosslinking Experiment
Self-Assembly References
1. Whitesides, George, et al., "Unconventional Methods for Fabricating and Patterning
Nanostructures", Chem. Rev., 1999, 99,1823-1848.
2. Whitesides, George, et al., "Crystallization of Millimeter-Scale Objects
with Use of Capillary Forces", J. Am. Chem. Soc., 1998, 120, 12670-12671.
3. Whitesides, George, et al., "Mesoscale Self-Assembly of Hexagonal Plates
Using Lateral Capillary Forces: Synthesis Using the 'Capillary Bond'", J.
Am. Chem. Soc., 1999, 121, 5373-5391.
4. Whitesides, George, et al., "Three-Dimensional Mesoscale Self-Assembly",
J. Am. Chem. Soc., 1998, 120, 8267-8268.
5. Whitesides, George, et al., "Design and Self-Assembly of Open, Regular, 3D
Mesostructures", Science, 1999, 284, 948-951.
PDMS References
1. Campbell, Dean, Ellis, Arthur, Lisensky, George, et al., "Replication and
Compression of Bulk and Surface Structures with Polydimethylsiloxane Elastomer",
J. Chem. Ed., 1999, 76, 537-541.
2. Campbell, Dean, Ellis, Arthur, Lisensky, George, et al., "Chemistry with
Refrigerator Magnets: From Modeling of Nanoscale Characterization to Composite
Fabrication", J. Chem. Ed., 1999, 76, 1205-1211.