Preparation of Collaborative Stained Glass Panel
This tutorial describes how to prepare a plexi-glass panel for use in the Nanostained Glass tabletop activity.
Step 1: Selecting a Pattern for the Window
- Select a patern to trace onto the plexi-glass panel. Institutional logos or event specific images work well.
- Enlarge and print the pattern so it fills most of the plexi-glass panel.
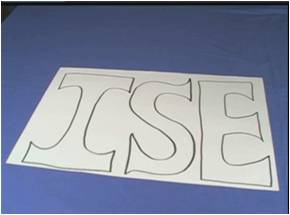
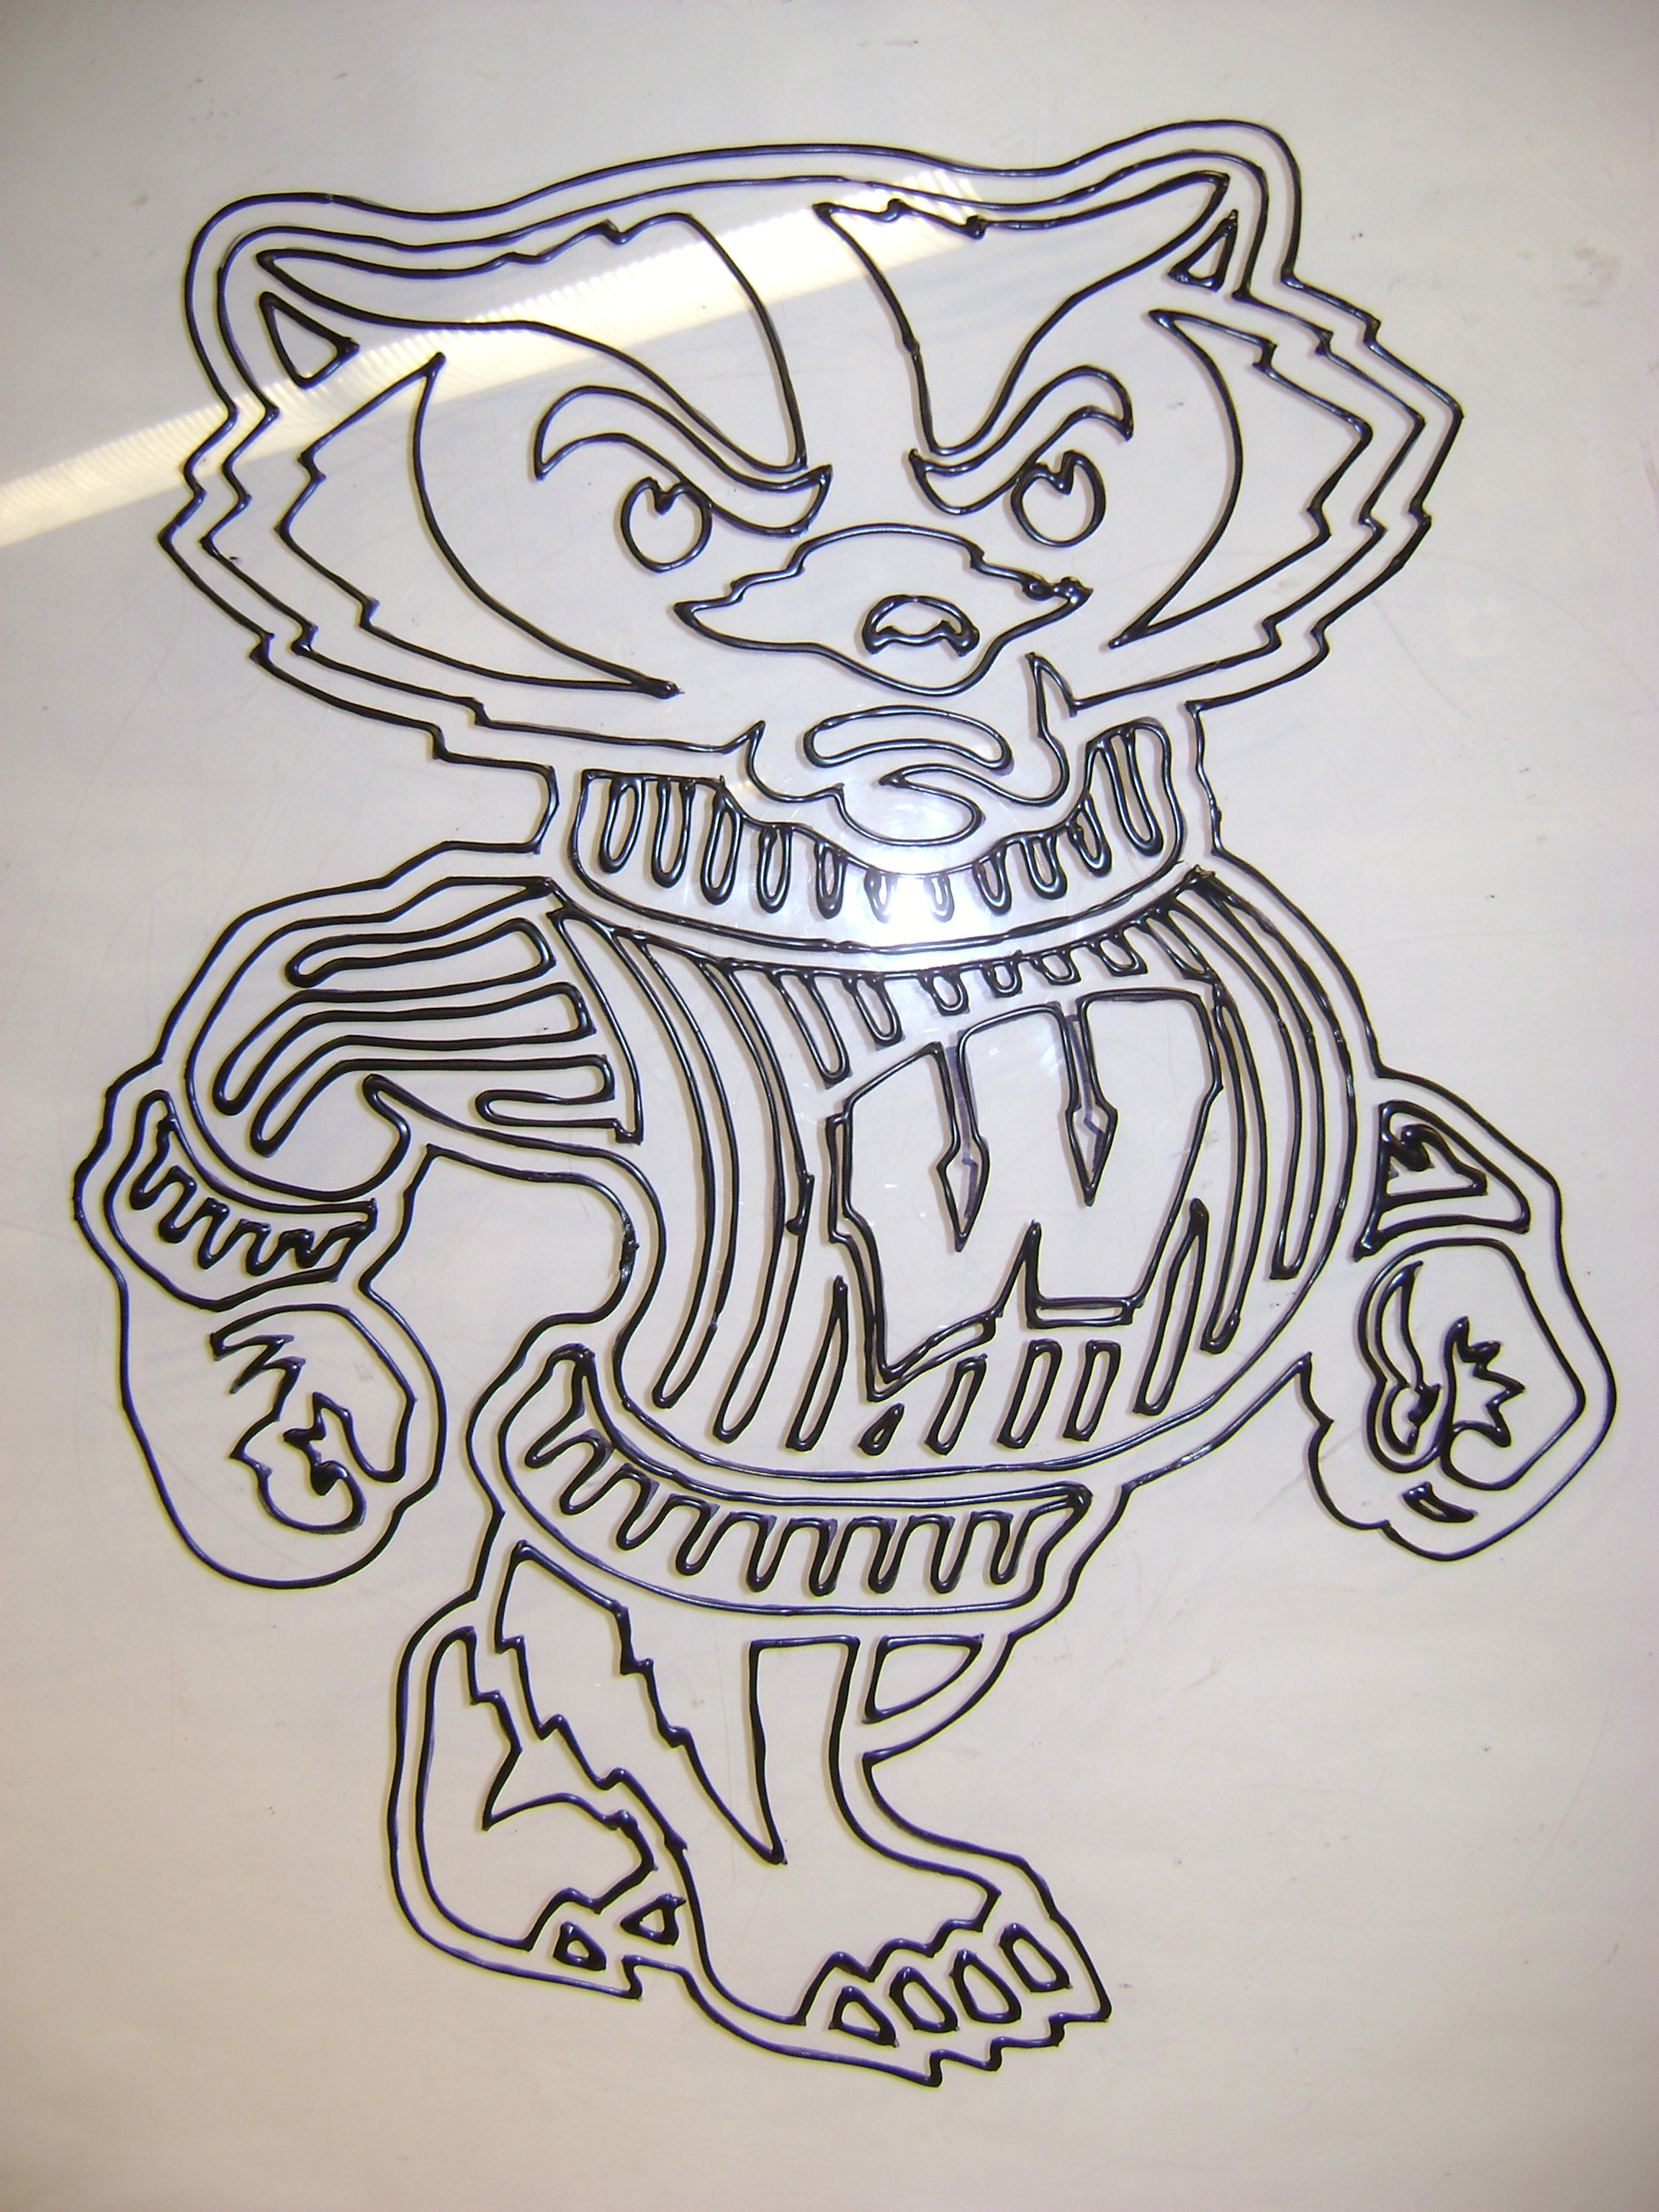
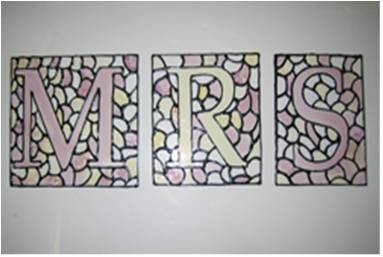
Below are some examples of previous patterns used.
|
|
|
Wisconsin Mascot, Bucky Badger
|
Embellished MRS logo
|
Step 2: Preparing to Trace the Pattern
- The printed pattern serves as a tracing template. Place the plexi-glass panel on top of the pattern.
Step 3: Tracing the Pattern
- Using a permanent marker, trace the pattern onto the plexi-glass panel.
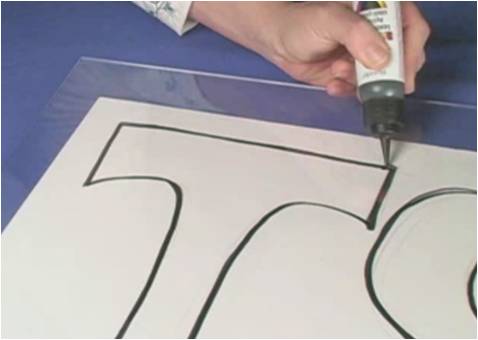
Step 4: Adding the Liquid Leading
- Slowly trace over the marker lines with the liquid leading.
- Draw lines that are approximately 1/8", with no gaps. If the lines do not meet, the solutions will not be contained.
- Note: The liquid leading requires AT LEAST 30 minutes to dry.
Step 5: Clean up
Clean up is very simple:
- Wipe up any stray liquid leading.
- Place traced panel in a place where the liquid leading can dry undisturbed.
- Organize supplies.
Materials
- Plexiglass panel, suggested size 18"x24" (available at local hardware stores)
- Simulated liquid leading (e.g. DecoArt Liquid Leading Paint, available at arts and craft stores)
Exploring the Nanoworld | MRSEC Nanostructured Interfaces
Copyright © 2007 The Board of Regents of the University of Wisconsin System.
This page created by Kimberly Duncan, University of Wisconsin-Madison. Last modified Dec 15, 2008.
|